Home>Garden Essentials>How To Install Artificial Grass In A Play Area
Garden Essentials
How To Install Artificial Grass In A Play Area
Modified: April 23, 2024
Learn how to easily install artificial grass in your garden play area for a beautiful and low-maintenance solution. Transform your space today!
(Many of the links in this article redirect to a specific reviewed product. Your purchase of these products through affiliate links helps to generate commission for Storables.com, at no extra cost. Learn more)
Introduction
Gardens are a wonderful addition to any home. They provide a tranquil space to relax, connect with nature, and enhance the beauty of your outdoor area. However, maintaining a traditional lawn can be a hassle, with constant mowing, watering, and dealing with weeds. This is where artificial grass comes in as a great alternative.
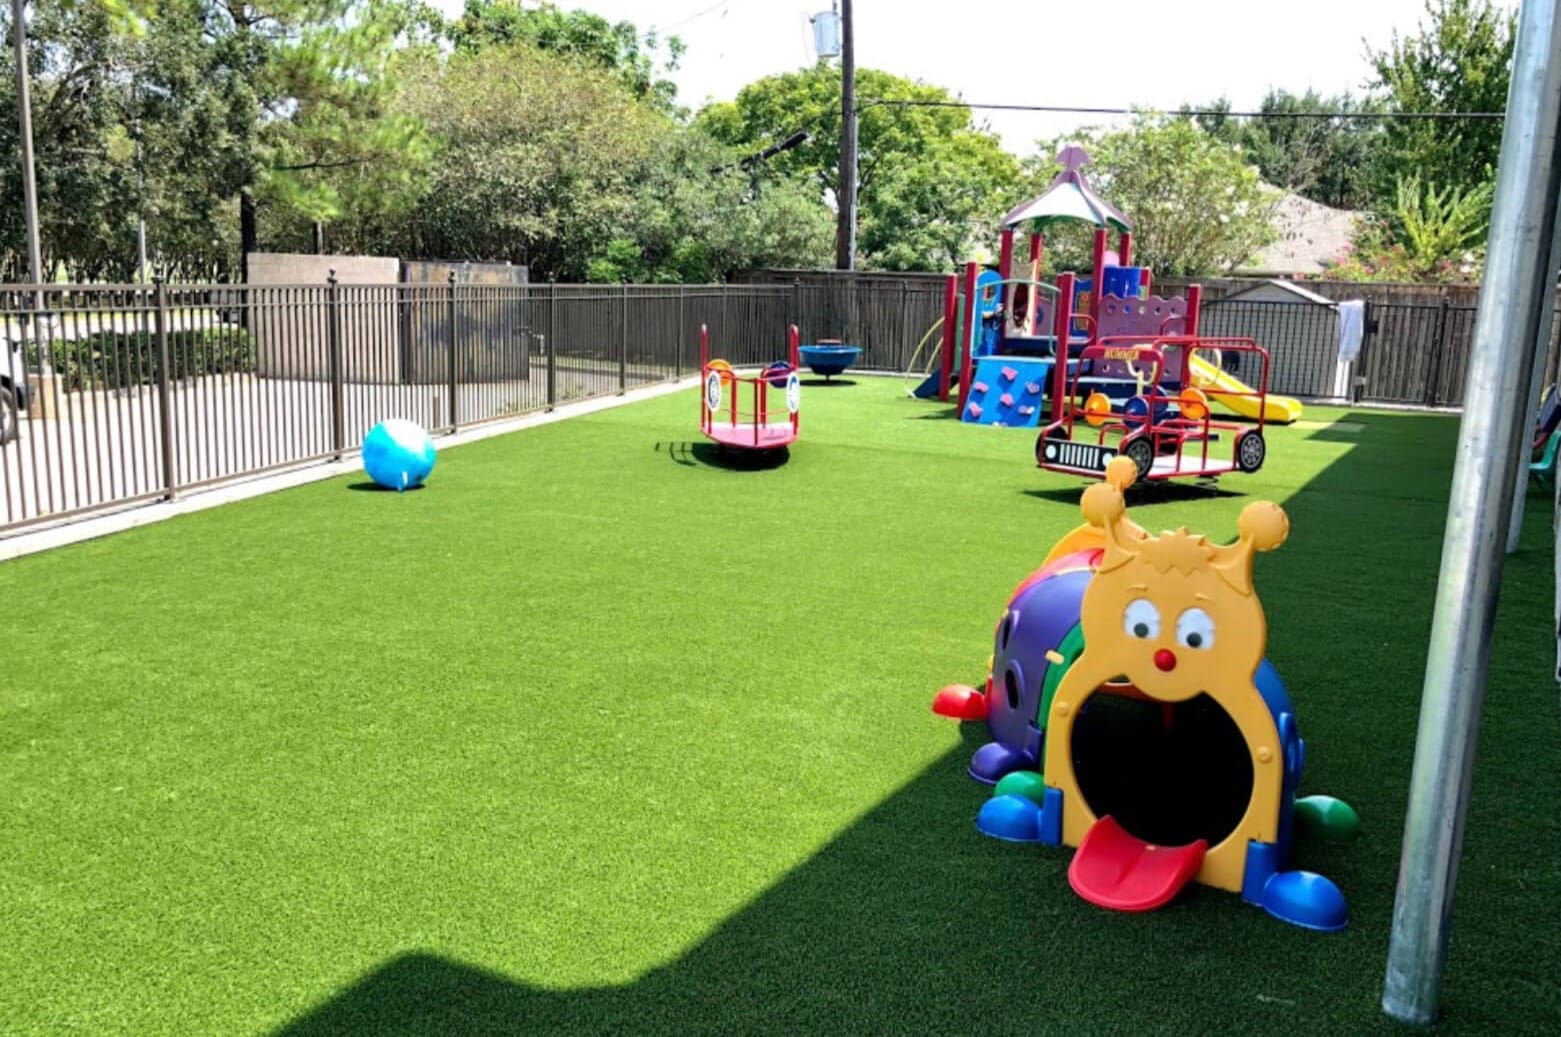
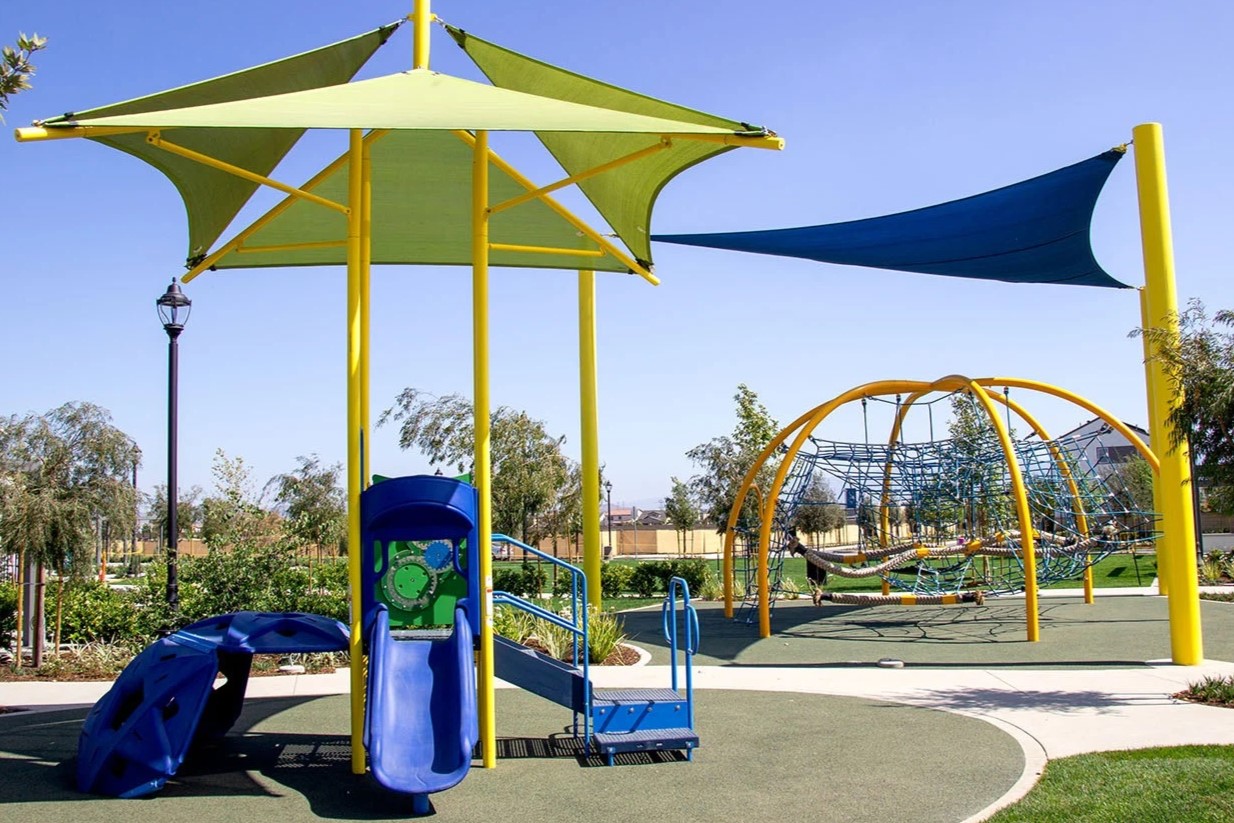
Artificial grass, also known as synthetic turf, offers numerous benefits. It requires minimal maintenance, saves water, and stays lush and green all year round. In addition, it offers a safe and comfortable play surface for children. Installing artificial grass in a play area not only creates a clean and vibrant space but also reduces the risk of injuries from falls due to its cushioning properties.
In this article, we will guide you through the process of installing artificial grass in a play area, ensuring a successful and durable installation. From measuring and preparing the play area to maintaining and caring for the artificial grass, we will cover each step in detail.
Before diving into the installation process, it’s important to select the right type of artificial grass for your play area. Consider factors such as blade height, density, and durability to ensure it meets the needs of your specific space and will withstand heavy use.
Now let’s get started with step 1: measuring and preparing the play area.
Key Takeaways:
- Installing artificial grass in a play area creates a low-maintenance and safe space for children to play. It involves measuring, preparing the ground, and proper maintenance to ensure a vibrant and durable play area.
- Maintaining artificial grass involves regular brushing, stain removal, and monitoring pet waste. By following these steps, you can enjoy a beautiful and hassle-free play area for your children to have endless fun.
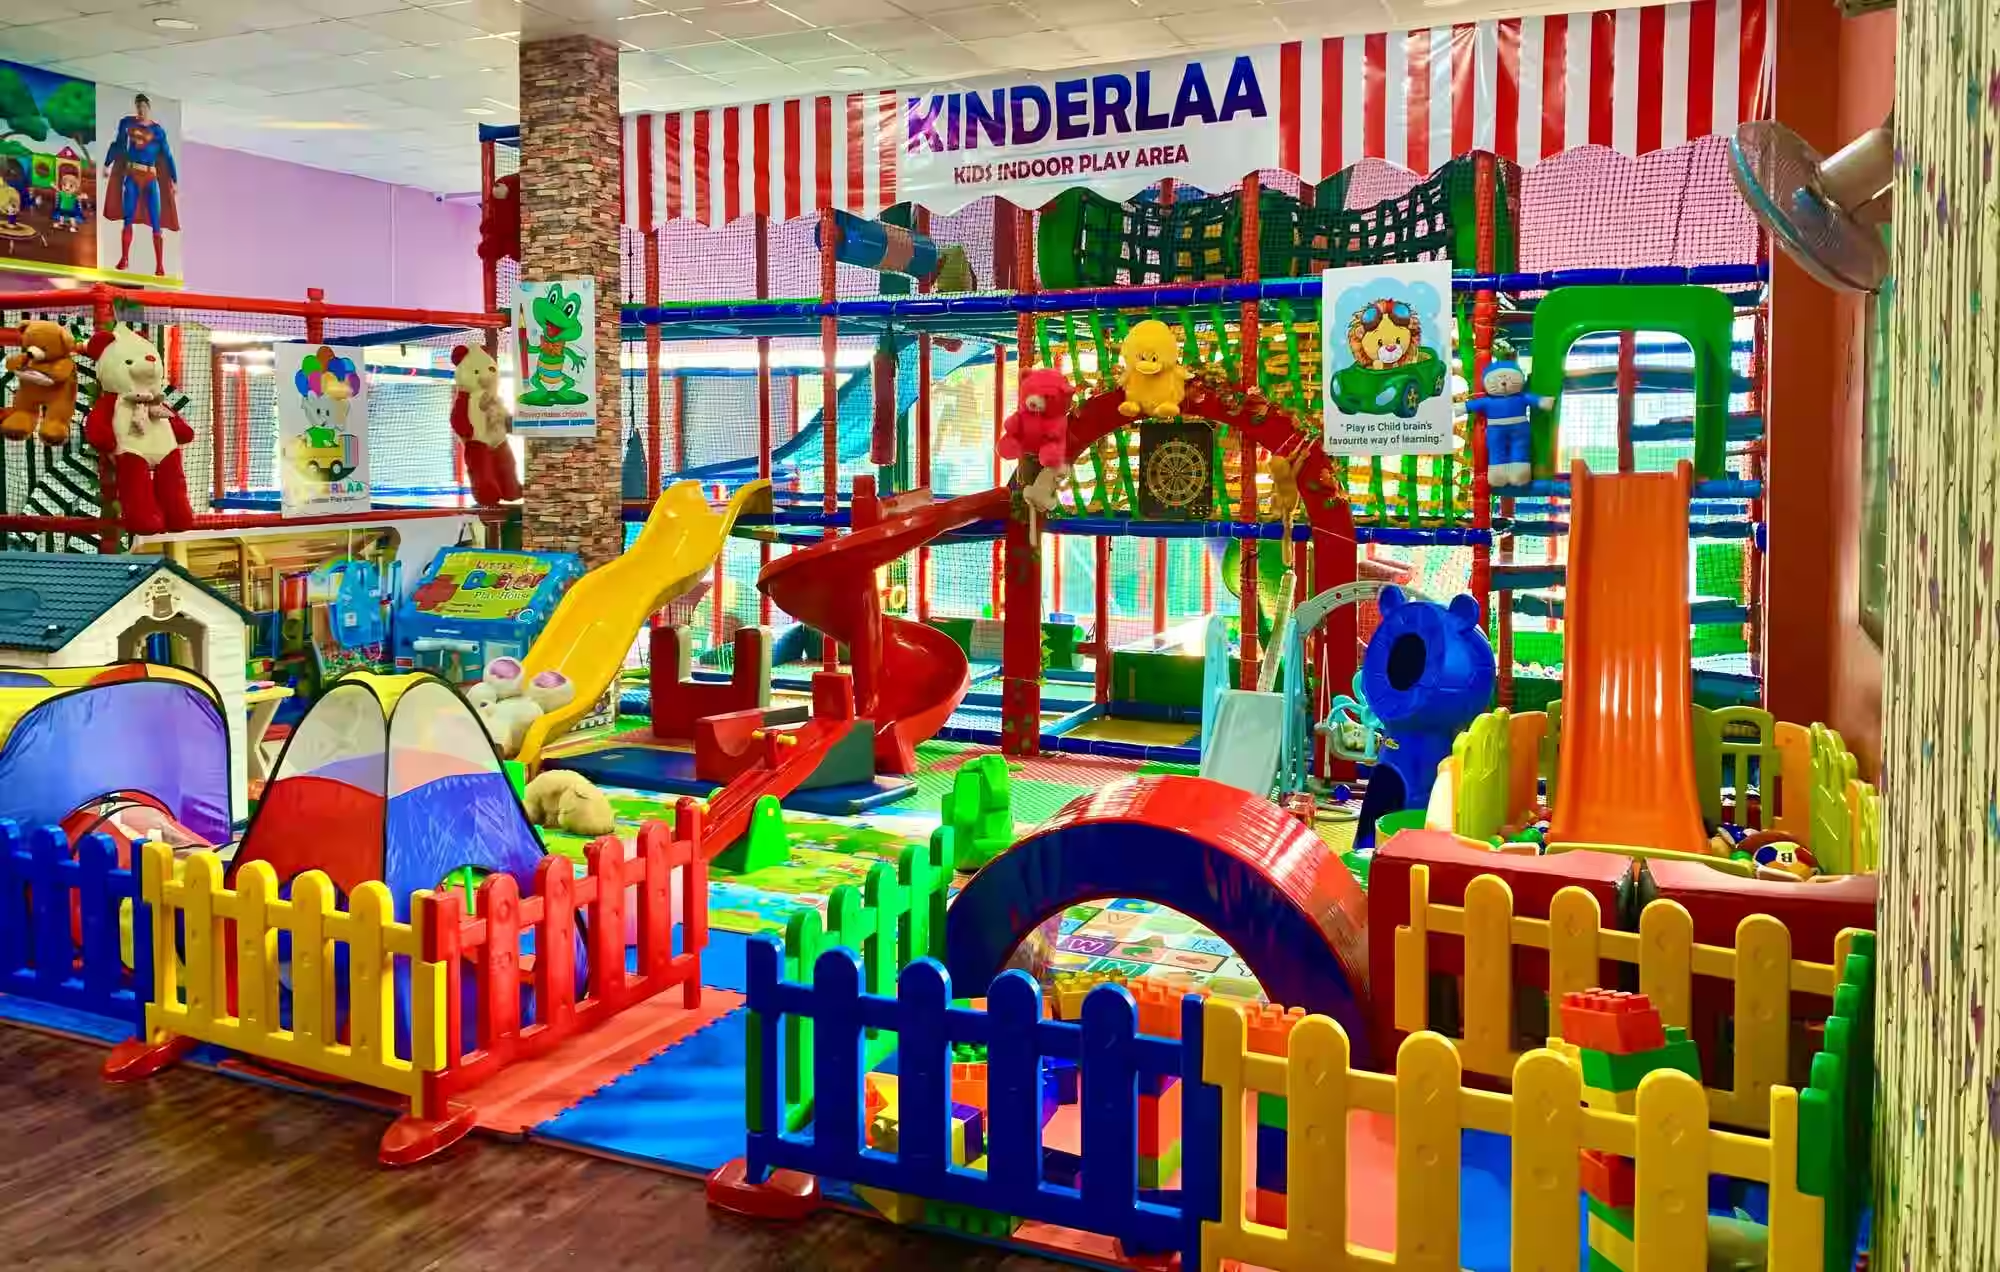
Read more: How To Organize A Play Area For Toddlers
Step 1: Measure and Prepare the Play Area
Before you begin installing artificial grass in your play area, it’s important to accurately measure and prepare the space. This will ensure that you have the right amount of materials and a smooth installation process.
Here are the steps to measure and prepare the play area:
- Clear the area: Remove any existing obstacles such as toys, furniture, or debris from the play area. This will give you a clear and accurate measurement of the space.
- Measure the dimensions: Use a measuring tape to measure the length and width of the play area. It’s important to measure at different points to account for any irregularities or slopes in the ground.
- Add additional space: To ensure a seamless installation, it’s recommended to add an additional 5-10% to the measurements for wastage or trimming.
- Prepare the soil: If the existing soil is uneven or compacted, you may need to prepare it before installing the artificial grass. Use a garden fork or rototiller to loosen the soil and remove any rocks or large clumps.
- Level the ground: Using a rake or a leveling tool, ensure that the ground is level and smooth. This will provide a stable base for the artificial grass and prevent any unevenness.
- Install edging: To keep the artificial grass in place and prevent it from shifting, install edging around the play area. This can be done using flexible plastic or metal edging, secured with stakes or screws.
Once you have completed these steps, you are ready to move on to the next step: removing any existing turf or debris from the play area.
Step 2: Remove Existing Turf or Debris
After measuring and preparing the play area, it’s time to remove any existing turf or debris from the space. This step ensures a clean and even surface for the installation of the artificial grass.
Here’s how you can remove the existing turf or debris:
- Cut and remove the existing turf: If there is natural grass or turf in the play area, use a sharp utility knife or turf cutter to cut it into manageable sections. Roll up the sections and remove them from the area.
- Clear any debris: Remove any rocks, twigs, or other debris from the play area. It’s important to have a clean and smooth surface to prevent unevenness or damage to the artificial grass.
- Inspect the ground: Once the turf and debris are removed, inspect the ground for any remaining roots, weeds, or uneven areas. Use a garden rake or shovel to smoothen out the surface and remove any remaining obstacles.
During this step, it’s crucial to be thorough in removing all existing turf and debris. Any remnants can cause issues with the installation and affect the final outcome of your artificial grass.
Once the play area is cleared and ready, you can proceed to the next step: leveling the ground.
Step 3: Level the Ground
After removing the existing turf or debris, it’s important to ensure that the ground is level and even. This step is crucial for a smooth and professional-looking installation of artificial grass in your play area.
Here’s how you can level the ground:
- Inspect the surface: Before leveling the ground, carefully inspect the entire area for any low or high spots. Low spots can lead to poor drainage, while high spots can create unevenness in the artificial grass.
- Add or remove soil: If there are any low spots in the ground, you can add compacted soil or sand to raise the level. On the other hand, if there are high spots, you can remove excess soil to even out the surface.
- Use a leveling tool: To ensure accuracy, use a long, straight board or a leveling tool to check the evenness of the ground. Place it across different areas of the play area and adjust the soil as needed until you achieve a consistent level.
- Compact the soil: Once the ground is leveled, use a plate compactor or a hand tamper to compact the soil. This will provide a firm and stable base for the artificial grass, minimizing the risk of unevenness over time.
Remember to periodically check the levelness of the ground during the leveling process. Taking the time to properly level the ground will contribute to the longevity and overall appearance of the artificial grass in your play area.
With the ground now leveled, you are ready to move on to the next step: installing a weed barrier.
Step 4: Install a Weed Barrier
Installing a weed barrier is an essential step in the process of installing artificial grass in a play area. It helps prevent weed growth and ensures a clean and low-maintenance surface for your children to play on.
Follow these steps to install a weed barrier:
- Measure and cut the weed barrier: Measure the dimensions of the play area and cut the weed barrier to fit. Make sure to leave a few inches of overlap on all sides to ensure full coverage.
- Clean the ground: Before laying the weed barrier, remove any remaining debris, roots, or weeds from the leveled ground. This will provide a clean surface for the weed barrier to adhere to.
- Roll out the weed barrier: Unroll the weed barrier and place it over the prepared ground. Ensure that it covers the entire play area, extending beyond the edges.
- Secure the weed barrier: Use landscape staples or nails to secure the weed barrier to the ground. Space the staples or nails about every 6-12 inches along the edges and throughout the play area.
- Overlap and secure seams: If you have multiple rolls of weed barrier, overlap the edges by a few inches and secure them together with adhesive or landscape staples. This will create a continuous barrier against weed growth.
By installing a weed barrier, you create a barrier between the ground and the artificial grass, preventing weed seeds from germinating and growing through the surface. This significantly reduces the need for weed control and maintenance in your play area.
With the weed barrier in place, you are now ready to move on to the next step: laying the artificial grass.
Read more: How To Make A Play Area For Baby
Step 5: Lay the Artificial Grass
Now that you have prepared the ground and installed the weed barrier, it’s time to start laying the artificial grass in your play area. This step requires precision and attention to detail to ensure a smooth and professional-looking installation.
Follow these steps to lay the artificial grass:
- Roll out the artificial grass: Start by unrolling the artificial grass on top of the weed barrier, making sure the grass fibers face the desired direction. Allow the grass to relax and flatten for a few hours, as it may have been folded during shipping.
- Trim the edges: Use a sharp utility knife to trim any excess edges of the grass. Make precise cuts to ensure a clean and neat appearance.
- Join multiple rolls: If your play area requires multiple rolls of artificial grass, align the seams and use adhesive tape or glue to secure them together. Be careful to match the patterns and ensure a seamless transition.
- Shape around obstacles: If there are any obstacles in the play area, such as trees or play equipment, carefully cut and shape the artificial grass to fit around them. Take your time to ensure a proper fit.
When laying the artificial grass, it’s important to avoid stretching the material, as this can lead to unevenness and a less natural appearance. Instead, work with the natural shape of the grass and make adjustments as needed.
Once the artificial grass is properly laid, you can move on to the next step: trimming and securing the edges.
Before installing artificial grass in a play area, make sure to properly prepare the ground by removing any existing grass and debris, leveling the surface, and adding a weed barrier. This will ensure a smooth and long-lasting installation.
Step 6: Trim and Secure the Edges
Trimming and securing the edges of the artificial grass is a crucial step in the installation process. It adds the finishing touch to your play area and ensures that the grass remains securely in place.
Follow these steps to trim and secure the edges of the artificial grass:
- Trim the edges: Use a sharp utility knife to carefully trim the edges of the artificial grass. Follow along the perimeter of the play area, cutting away any excess grass that extends beyond the desired boundaries. Take your time to ensure clean and precise cuts.
- Secure the edges: To keep the edges of the artificial grass in place, use landscaping nails or 6-inch galvanized spikes. Space them about 6-8 inches apart along the edges, driving them into the ground at a slight angle. Be careful not to drive the nails or spikes through the grass fibers.
- Optional: Install edge restraint: If you want to further secure and stabilize the edges of the artificial grass, you can install an edge restraint. This can be done using plastic or metal edging, which should be installed around the perimeter of the play area and anchored into the ground.
Trimming and securing the edges of the artificial grass not only creates a neat and professional look but also prevents the grass from shifting or lifting over time. Make sure the edges are secure and well-trimmed for a visually pleasing and long-lasting play area.
With the edges trimmed and secured, you are ready to move on to the next step: infilling the grass.
Step 7: Infill the Grass
Infilling the artificial grass is an important step that helps enhance its durability, stability, and overall performance. It involves adding a layer of infill material to the grass fibers, which provides support, resilience, and a natural feel underfoot.
Follow these steps to properly infill the artificial grass:
- Select the right infill material: There are various options for infill material, including silica sand, rubber crumb, or a combination of both. Consider factors such as the purpose of the play area, desired level of cushioning, and local climate when choosing the infill material.
- Distribute the infill material: Use a shovel or a spreader to evenly distribute the infill material across the surface of the artificial grass. Make sure to work the infill into the grass fibers, ensuring thorough coverage and avoiding any clumping or unevenness.
- Brush the grass fibers: Use a stiff-bristled brush or a power broom to brush the grass fibers in multiple directions. This helps to evenly distribute the infill material and stand the fibers upright, giving the artificial grass a more natural and lush look.
- Add more infill if needed: Assess the level of infill and add more if necessary. The goal is to achieve a sufficient amount of infill that provides proper support and stability, without excessive compaction or hardness.
Proper infilling of the artificial grass improves its ability to withstand heavy use, prevents matting, and promotes good drainage. It is an essential step to ensure that the play area remains safe, comfortable, and visually appealing.
With the grass properly infilled, you can move on to the next step: brushing and fluffing the grass.
Step 8: Brush and Fluff the Grass
Brushing and fluffing the artificial grass is a crucial step in the installation process, as it helps to improve the overall appearance, resilience, and longevity of the grass. It involves using a stiff-bristled brush or power broom to restore the upright position and evenly distribute the fibers.
Follow these steps to properly brush and fluff the artificial grass:
- Choose the right tool: Use a stiff-bristled brush or a power broom specifically designed for artificial grass. Avoid using brushes with metal bristles, as they can damage the fibers.
- Brush in multiple directions: Start by brushing the grass fibers against the grain, or in the opposite direction they are laying. This helps to lift and separate the fibers, preventing them from matting or flattening over time.
- Brush with the grain: Next, brush the grass fibers in the direction they are intended to lay. This helps to smooth and align the fibers, giving the artificial grass a more natural and uniform appearance.
- Pay attention to high traffic areas: Focus on brushing and fluffing areas that are frequently used or experience heavier foot traffic. This helps to restore the resilience and prevent any flattening or wearing down of the fibers in those areas.
- Regular maintenance: To keep the artificial grass looking its best, perform regular brushing and fluffing as part of your maintenance routine. This helps to prevent the fibers from becoming compacted and maintains the overall integrity of the grass.
Brushing and fluffing the artificial grass not only improves its appearance but also helps to maintain the proper functionality and performance of the play area. It restores the grass to its original condition and ensures a comfortable and enjoyable play space for your children.
With the grass properly brushed and fluffed, you are ready to move on to the final step: maintaining and caring for the artificial grass.
Read more: How To Make A Mulch Play Area
Step 9: Maintain and Care for the Artificial Grass
Proper maintenance and care are essential for keeping your artificial grass play area in optimal condition. By following a few simple steps, you can ensure the longevity and aesthetics of the grass while maximizing its usability.
Here are some important maintenance and care tips for your artificial grass:
- Regular brushing: Brush the grass regularly with a stiff-bristled brush or power broom to keep the fibers upright and prevent matting. This also helps to remove any debris or leaves that may accumulate on the surface.
- Remove stains and spills: Quickly clean up any spills or stains on the artificial grass to prevent staining or discoloration. Use mild soap or artificial grass cleaner and rinse thoroughly with water.
- Manage pet waste: If you have pets using the play area, promptly remove solid waste and rinse the area with water to prevent odors and bacterial growth. For urine, rinse the area with water to dilute and minimize any odor.
- Inspect for damage: Regularly inspect the artificial grass for any signs of damage, such as loose seams or tears. In case of any damage, repair it promptly to prevent further issues.
- Control weed growth: Although the weed barrier helps prevent most weed growth, occasional weeds may still surface. Remove any weeds manually or use a weed killer specifically designed for artificial grass.
- Monitor drainage: Ensure that the drainage system is functioning properly by checking for any blockages or areas of poor drainage. This helps to prevent pooling or flooding in the play area.
- Protect from heavy objects: Avoid placing heavy objects, such as furniture or equipment, directly on the artificial grass. Use protective pads or platforms to prevent excessive pressure and potential damage.
- Seasonal care: During winter, remove snow and ice from the surface of the grass using a plastic shovel or broom. This helps prevent any damage from the weight of the snow or ice buildup.
By following these maintenance and care tips, you can ensure that your artificial grass play area remains safe, clean, and visually appealing for years to come.
Congratulations! You have successfully installed and maintained artificial grass in your play area. Enjoy the benefits of a lush, low-maintenance surface where your children can play and create lasting memories.
Remember to periodically check the condition of the grass and address any maintenance needs promptly to ensure its longevity and performance.
Happy playtime!
Conclusion
Installing artificial grass in a play area can transform your outdoor space into a vibrant and low-maintenance playground for your children. With its numerous benefits such as minimal maintenance, year-round greenery, and safe play surface, artificial grass has become a popular choice for many homeowners.
In this article, we have provided a comprehensive guide on how to install and maintain artificial grass in a play area. From measuring and preparing the area to brushing and fluffing the grass, each step is important to ensure a successful installation that will stand the test of time.
By following the steps outlined in this guide, you can create a play area that not only looks and feels like natural grass but also provides a safe and comfortable space for your children to play. The proper installation, along with regular maintenance and care, will ensure the longevity and aesthetics of your artificial grass.
Remember to choose the right type of artificial grass for your play area and follow each step carefully, taking into account factors such as leveling the ground, installing a weed barrier, and infilling the grass. Regular brushing, stain removal, and monitoring of pet waste are essential for keeping the grass in top condition.
With artificial grass, you can enjoy a beautiful and vibrant play area without the hassle of constant watering, mowing, or weeding. Spend more time enjoying your outdoor space with your children and less time on maintenance.
So, go ahead and embark on this exciting project of installing artificial grass in your play area. Create a safe, low-maintenance, and visually appealing space where your children can have endless hours of fun and play.
Enjoy a beautiful and hassle-free play area with artificial grass!
Frequently Asked Questions about How To Install Artificial Grass In A Play Area
Was this page helpful?
At Storables.com, we guarantee accurate and reliable information. Our content, validated by Expert Board Contributors, is crafted following stringent Editorial Policies. We're committed to providing you with well-researched, expert-backed insights for all your informational needs.
0 thoughts on “How To Install Artificial Grass In A Play Area”